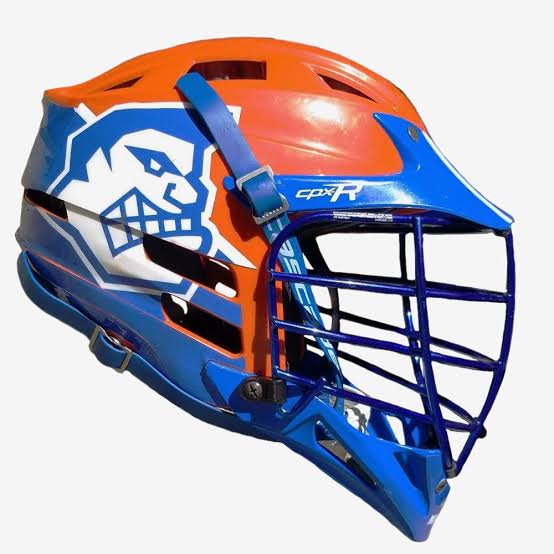
Lacrosse is gaining popularity not only in the US but also worldwide. According to a report, in 2017, there were approximately 750,000 lacrosse players in the United States. However, before you can rush onto the field, you’ll certainly need the right gears with an appealing helmet to prepare for the game. If you’re one of the players, opting for fancy lacrosse helmet decals is a good option.
Various helmet decal materials are available in the market, such as vinyl, polyester, BOPP, etc.
Vinyl stickers are the most popular among Lacrosse players because they are durable and do not easily get affected by minor strikes. Polyester stickers can withstand high temperatures and are recommended for players who do not want to change their decals in the future. BOPP decals are a great alternative to the vinyl ones but are comparatively less durable.
Three Easy Steps to Apply a New Decal
Applying helmet decals is really a challenge if you don’t know the proper technique. Follow these steps to finish the job in one go:
You might already have many decals on your helmet. However, before applying a new one in the same place, you need to remove the old ones. The glue from the previous decal might not wash away easily with regular soap or water. You can use baby oil to remove the stains from older decals. For drying the surface, use a microfiber cloth to avoid any scratches.
Now it’s time to peel the white paper from the decal. Do that carefully without tearing the decal, and avoid touching the adhesive. You don’t want to waste the efficacy of the glue by sticking it to your hands.
Now that you are done with the initial steps, it’s time to move on to the most crucial one, “sticking the decal on the helmet.” Gently place the center of the decal on the area where you want to stick it and check if you have done it right. Now use your palm to firmly press the sticker’s edges to paste it tightly to the helmet’s surface. Be careful not to trap any air bubbles beneath it. Alternatively, you can use a credit card to give a smooth finish to the sticker.
What to do if the decal doesn’t fit your helmet?
Sometimes, you may get a decal that doesn’t perfectly fit your helmet, and you are required to make some adjustments.
Getting larger decals is the most common issue while pasting them. If you also have one that needs to go under the face mask, first remove the facemask entirely and then apply the decal.
If the Decal Falls Over Cracks
If your decal sticker falls over edges, cracks, or holes, you can use a scissor or blade to cut the excess and make it fit perfectly.
Hopefully, now you have ample knowledge about applyinglacrosse helmet decals on your own. However, if you face any problem, you can take assistance from a professional. You can easily find online stores that deal in sports gear, accessories, and items. Some stores also offer custom designing services and specialize in decals for helmets. Helmet decals enhance your team spirit and motivate you to win the game, so don’t compromise on their quality. Buy the ones meant to last and won’t require you to replace them often.

