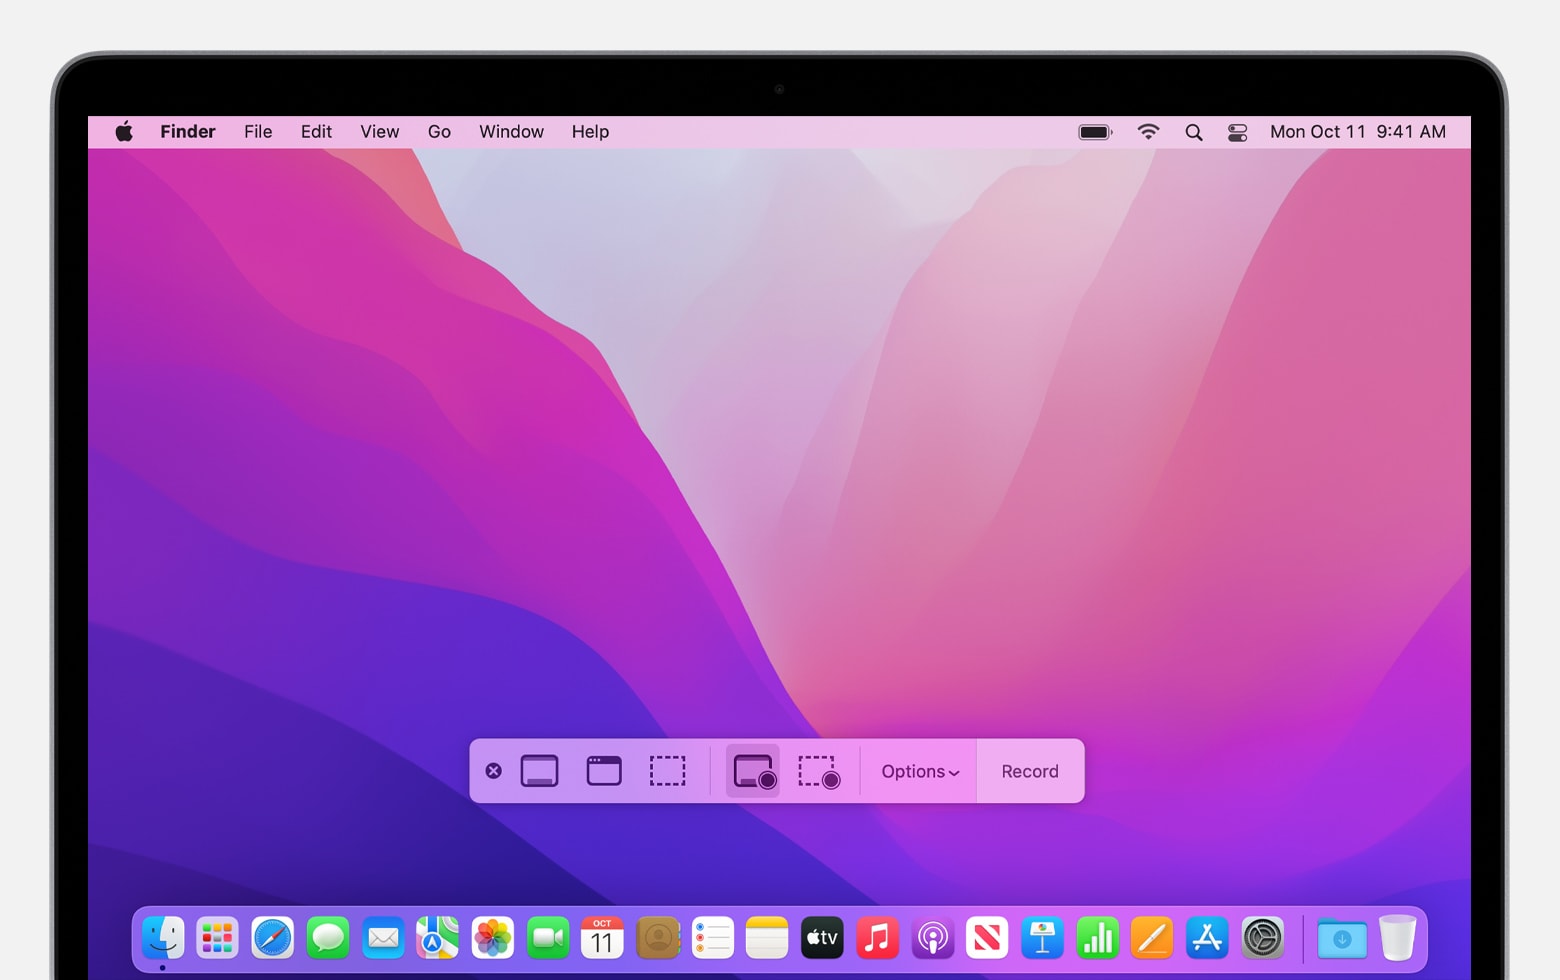
There are a few different ways you can record your screen on a Mac. You can use an application like QuickTime Player or an open-source program called OBS. Or you can use software designed for macOS such as EaseUS RecExperts or Movavi Screen Capture Studio.
Animoto
One of the easiest and cheapest ways to create a video is to use Animoto. This software comes with everything you need to record, edit, and share a video. You can even create a screen recording for free.
The best part about using Animoto is that you don’t have to download any extra software. All you need to do is use your web browser and follow the steps outlined below.
First, you need to select a template. There are hundreds of templates for different types of videos. For example, an intro could be useful for introducing a brand or product to your audience.
Selecting a relevant template will make your video more effective. Next, you’ll need to select the most appropriate window to record your screen.
EaseUS RecExperts for Mac
EaseUS RecExperts for Mac is a screen recording software that comes with a lot of inbuilt solid features. It can record videos, edit videos, and export videos. The software is compatible with various video formats.
Screen recording is a great tool for creating tutorials and how-to videos. You can also use it for live streaming. Moreover, the software offers a number of other useful features.
The software allows you to record the full screen, partial screen, and webcam. Moreover, you can set the time for recording.
Besides, the software is able to compress videos without compromising the quality. Furthermore, you can choose the resolution of the recorded videos.
In addition to that, you can also use the program to annotate the video. You can add a watermark, arrows, and text.
Movavi Screen Capture Studio
Movavi Screen Capture Studio for Mac is a screen recording program that is easy to use. It also allows users to edit and customize the captured image. You can record web content, webinars, gameplays, software tutorials, and much more. Moreover, it supports YouTube, Facebook, and Vimeo.
In addition, you can record your voice using the built-in microphone. This means that you don’t have to spend time capturing your audio separately from your video.
You can set the start time for your recording. Also, you can choose the area you want to capture. Lastly, you can set the frame rate. All of these features make the Movavi Screen Recorder very versatile.
The Movavi screen recording software is compatible with Windows and macOS. It also supports AVI and MP4. You can record your computer screen, the webcam, and the sound of your system. Moreover, you can add text, highlights, and arrows to your recordings for your self and your business purpose also.
QuickTime Player
Screen Recording on Mac is a great way to capture your screen activities and share them online. It’s an easy and quick process. You can use QuickTime Player to record your screen, and then edit and save it.
The QuickTime Player allows you to record your screen in different formats. It also supports split screen recording, so you can split your screen to record two separate parts of the screen.
The QuickTime Player also supports rotation, so you can record a video that rotates in your screen. But it doesn’t support simultaneous recording of internal audio and external audio. So if you want to record external sound, you’ll need another application.
Another great feature of the QuickTime Player is the floating thumbnail. This allows you to change your recording location quickly. In addition, it displays a preview of the video you are about to record.
Open Broadcaster Software (OBS)
If you’re looking for a free and open source screen recording software, you may want to try Open Broadcaster Software (OBS). It is compatible with Windows and Linux.
OBS is a free, open source software that lets you record your screen, share your desktop, and stream it live. You can also use it to create videos and online courses.
OBS is easy to learn and use. However, the interface can be confusing for beginners. This tutorial will help you understand how to get started with the program.
Before you can begin recording, you will need to install OBS on your Mac. To do so, click the download link on the OBS website. Then, follow the instructions on your operating system to install the software.
Once you have installed the software, you will need to choose a video capture device to use with OBS. This is a device that you plug into a USB port.

